Friday, December 16, 2011

Cabinets and Kitties

The long-awaited cabinet update is here!

When I posted last I had stripped and restained the lower cabinets
and was ready to tackle some doors to see if they would match.

Well, they didn't.  Take a look.


Three doors.  Three colors. Three kinds of splotchy.

As you can see from the door on the far left, they seemed to strip down fine, 
but they didn't take the stain uniformly.
My son-in-law, a cabinet maker, said that since they weren't protected
with a clear coat they've had years of fingerprints, grease splatters and
spilled water, etc. that could affect how they receive the stain.

I moved on to Plan C and bought this.

Source
I chose the Dark Color Kit in Cabernet.


Here's my workspace.  
Every door and drawer cover was laid out so I could do them all at once.  


It was a long process with multiple steps, but it wasn't hard and I love the results.

And you ready for the big reveal?

Here's a reminder of how it looked before.....


And today it looks like this....


Ta Da!


I love the richness and depth of the color.


Another great thing is that you can still see the texture of the woodgrain.


The glaze that is applied after the bond coat adds variety to the finished color.
I am extremely happy with the results of this kit and would call it
the next best thing to stained wood.

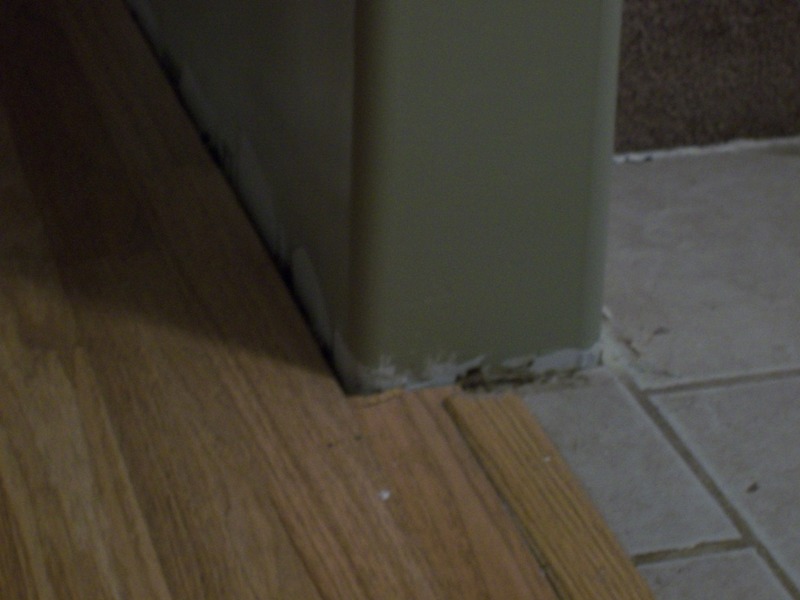
The kitchen is still a work in progress.  I will be adding a backsplash and we need to paint,
but I think we'll move in and have Christmas first.  :-)  

Here's a couple more fun things that happened this week.

The new outdoor kitties moved in.  They are staying in the loft of the shed.


Isn't this a handsome little guy?  His name is Clyde.


The little girl kitty wouldn't sit still for a portrait, so we caught her in action.
She is Bonnie.  (You saw that coming, didn't you?)


Pretty soon Clyde discovered the opening in the bass drum.


It didn't take them long to decide it would make a cozy nest for them to sleep.


Nighty, night Bonnie and Clyde.


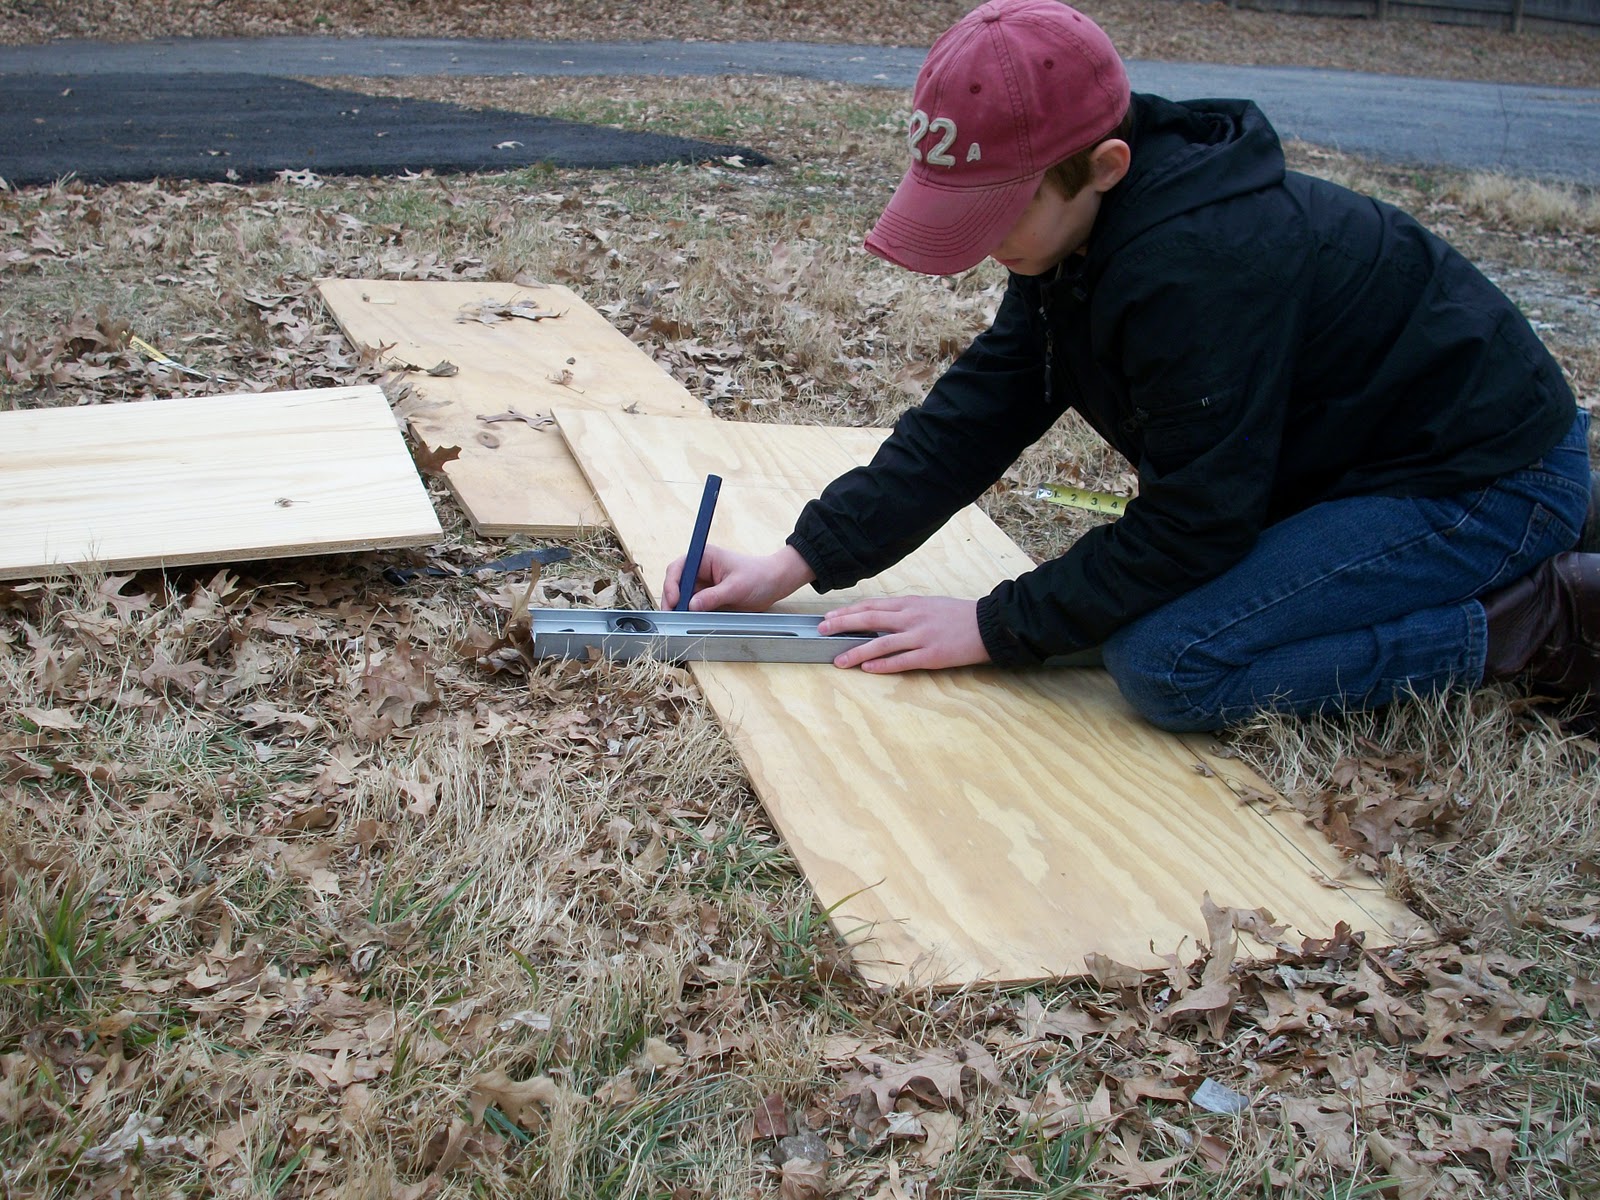
Silas has started working on their little outdoor house.

Yesterday, I had the piano movers out to pick up & deliver our old upright grand.


This was given to me by my Grandma and Grandpa.  
It was in the house they purchased in the early 1940's.
Mom tells me it used to be painted black, but Grandpa refinished it.
It was built in 1903 (or was it 1905?), and I can't remember the manufacturer.
At any rate, it is a treasure to me and my family.

That's the latest!
Moving Day tomorrow.  I need to get packin'!

Have a wonderfully blessed weekend!

Friday, December 9, 2011

New Moving Date

We're not quite ready to move our stuff in yet.
Next Saturday, the 17th, is moving day.
Ready or not, here we come...on the 17th.

Meanwhile, we are continuing to remodel.
Here is how the bay window project is coming along.

This is what Dad had to work with.  Pretty rough terrain.
We decided wainscoting would do nicely rather than
trying to fill and smooth all those cracks and bumps.
This picture doesn't begin to show how awful it was.

Starting from the middle, he worked his way to either side.
Each piece had to be measured and cut to specific lengths
because the house isn't square.


He installed trim on either side and on top to frame it.
The left side is taped because we added some glue to help
keep it in place since there is no stud in the middle.

To finish it off, he filled this sill area with the leftovers.


Another amazing custom fit job!

The beam is boxed in and got it's final coat of mud.
Tyler got it sanded down nice and smooth.

It's ready for primer and paint.


I forgot to tell you something interesting about the cabinets.
When our friend came to install the countertop, he had to
tear out and reinstall the cabinets because they weren't level.
Not only were they not level, they weren't attached to the wall!!

See the shims under the cabinets?  
Notice the difference in height from left to right.  
Would you say the floor is a little wonky?  
I would!

Thanks again, Bill, for your patience and hard work to get
this all back together in proper order!

Saturday's agenda includes painting of the baseboards,
bay window, and new header beam.
Of course, I will continue to strip the cabinet doors.
So far so good, but I haven't tried the stain yet.
Thanks for visiting A House and Yard!
I have appreciated all the comments and encouragement.


Cabinet Refinishing Update

Did you ever start a new project 
full of hope and high expectation?
Even your lack of experience didn't stop you 
from believing the challenge could be conquered.

It happened to me in the last week.
I present to you the kitchen cabinets.....

Here is where we started.  The house came with plain, stock cabinets from the local building supply.
They were badly stained and not lacquered.  I had something else in mind.....new cabinets!
Alas, new cabinets were not in the budget, so I decided refinishing would be the next best thing.
Armed with a lovely stain....

source
....and high hopes, I got started.
Cabinet doors were removed and set aside.
The cabinets themselves got a good scrubbing, stuff got covered, and I applied the stain.


The uppers took the stain beautifully!
Love the color!

The lowers were very particular.  


The stain rested on
the surface and I had a very difficult time getting
the color to stay on.  The end result?

Not only were they splotchy, but they were a 
different color than the uppers!

This is definitely NOT what I had in mind!
I worked on this Wednesday and Thursday last week.  There were other things
(FUN things) to do over the weekend, so after shedding a few tears I walked away for a few days.
This week it was time to get ready
for the new countertops, so now I'm on deadline!

I decided to strip the lowers and start over!
I've never stripped wood in my life,
so this was a risky endeavor to me.
After researching I gathered my supplies.

Did you notice the lovely tile countertop is missing?
Looky here....

Brian removed the countertop and backsplash during my cooling off period.

The tile wouldn't chip off the wall.  He had to cut away the sheetrock and replace it.
The remains.  Anyone want some fruity ceramic tile?
Moving on.
After practicing on a door we aren't going to use....
...I started in.  Thankfully, it went smoothly.
The stripped wood took the stain better
and the colors look pretty good.

I got the new coat of stain on the lowers
the night before the countertops were installed.
Here's how it looks....

The next step?  I'm going to tackle those doors.
The lazy susan door still looks alittle splotchy.
Hopefully the rest of the doors will behave!

I'm lovin' the pretty new countertop!
In all honesty, if I had known ahead of time
how much time and frustration I would encounter
with this project, I would have done something else.
Now that I'm in the middle of it, I have to keep going.
As they say, ignorance is bliss.
(At least until the stain turns out splotchy....)

The next update?
The baseboard trim, rounded corners,
and bay window finishing.
My dad has been hard at work!

Stay tuned, Friends!

Friday, December 2, 2011

Nannie's Christmas Box is Here!

Nannie is what my kids call my mom.

Right after Thanksgiving, Mom sends a "getting ready for Christmas" box in the mail to my family,
my sibling's families, and my two grown daughters.  I can't remember when she started this,
but it's something we look forward to every year. 

Who doesn't love to get a big box full of stuff in the mail?

This year's collection is a variety of new things and some old favorites.
Let's take a look inside!!
She always includes something she made by hand.  Here we have a lovely table runner!
Next are a few useful and educational things.
Here are some yummy mixes to try.
Of course, there is a large sampling of sweets to tempt us.
I call the Mocha Latte Espresso Beans!
Anna's Ginger Thins are amazing.
See the little snowball-looking thing?
It is literally a ball of sugar and at the center there is a nut.  A filbert, I think.  Yum.
Here we have the silly things.
The blue spider-thingy can be thrown at the wall where it sticks, then slowly "crawls" down.
The wind up rat?  Not so sure about that one.  Maybe that's for Hershey and Snickers.
Snickers would probably be scared of it.

And now for the weird Santa and Snowman Heads!
Look what they can do.....
I KNOW!  Just what we all need to make us happy during Christmas, right?  :-)

Thanks, Mom, for our Christmas Box!!

Isn't this a fun way to kick off the Christmas Season?

What would you include in a
"Getting Ready for Christmas" Box?

Thursday, December 1, 2011

Giveaway Winner!

Happy December 1st Everyone!

The winner in the random drawing for

More Than Just a Pretty Face, by Karen Morerod is

comment #3 from mommy4life.

Please email your information to me and I'll get your book to you ASAP.  
Let me know if you'd like Karen to sign it for anyone specific.
Congratulations!

*  *  *

My son, Silas, and I are meeting my dad at the house pretty soon.
Today's project - installing baseboard in the livingroom/dining area.
I'm pretty excited about this!

Last night I got started refinishing the kitchen cabinets.
I settled on this lovely color:
source

When I first brushed it on, it looked like red lipstick and it made me alittle scared.
But it has tinted the wood beautifully.  Well - I'll show you pictures in a couples days.
Can't wait to see it in the light this morning.
It was still kind of wet when I left it last night.


Have a wonderfully blessed day!

Wednesday, November 30, 2011

These Are A Few of My Favorite Things!

One of the bloggers I read, The Nester, is holding a link party today about some of our favorite things.  
The things on the list have to be less than $30, so I thought I'd join in the fun.

Best.Ice Cream.Ever!

*sigh*
And this is only one of two drawers filled with polish.
This is one of three animated Christmas scenes from Avon I own.
I started collecting these after I became a grandma.
It seemed like a grandma kind of thing to have and
the grandkids love them, by the way!
This only comes out at Christmas and I can't always find it in the store,
but I found it just the other day and was ecstatic.
I found this "B" at Pottery Barn a couple years ago on the clearance rack for $4.
Yummy-ness!
How about you? What are some of your favorite things?

Tuesday, November 29, 2011

Giveaway Reminder & Baseboard Project Preview

Hey!  Don't forget to enter to win a copy of
More Than Just A Pretty Face, by Karen Morerod!
Last day to enter is November 30 and the winner will be chosen December 1.


Even if you don't want the book for yourself
(although I can't imagine why you wouldn't),
it would make a very fine gift.
I can probably get my friend, the author,
to autograph it for you, too!

The next project to be tackled is the baseboard.  My Dad, the floating carport genius, will be heading up this one, too.  The thing that makes this tricky are the curved corners the previous owner installed when they drywalled over the support beams.  An obvious solution might be to enclose those rounded, bumped out areas with decorative casing giving it a real old fashioned look, like this doorway:

Colonial trim
image source
I really like the look of casing, however the budget doesn't allow for that at this time.
(It'll be on the list for future updates, though.)

Here is a quick peek at the rounded areas.  Six of them in all.  That's twelve rounded corners.  Twelve.  No small task.  Dad is researching as we speak, and I know it'll look great when we're done!

Front door/entry
Stairwell/entry
Livingroom - east wall

Livingroom/dining area corner
Dining area/Kitchen - south wall
Hubby, Brian, is enclosing this beam with drywall and matching rounded corners.
Dining/Kitchen - north wall

Thanks for stopping by today!  Don't forget to enter to win today!  See you again soon.